This tutorial demonstrates how to create a Grid application using the “User defined” orientation that allows the developer to use an HTML template to display data records retrieved from a table or SQL query.

Creating the Grid application
1. Create a Grid application using the table employees.

Use:
If you have any questions about how to create a Grid, visit: Creating a new Grid
2- In the initial settings, change the orientation of the Grid module to the “User defined” type. The number of lines, equal to 1.
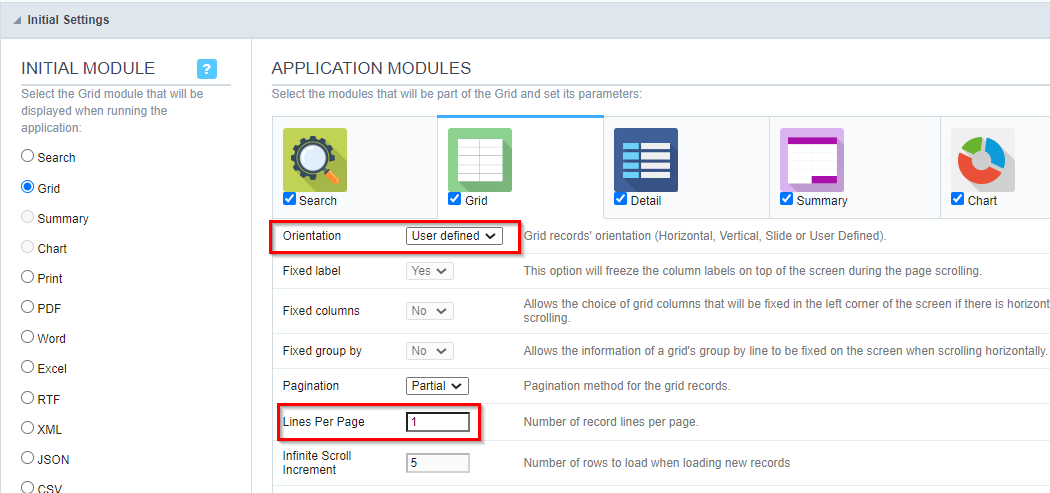
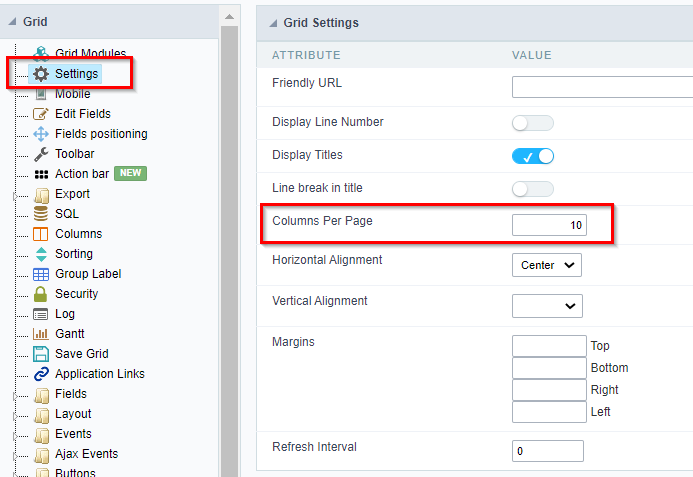
3- In the menu “Settings”, change the item “Columns per Page” to 10. (This item is what defines the amount of records displayed by pages in a User defined)
Configuring the fields
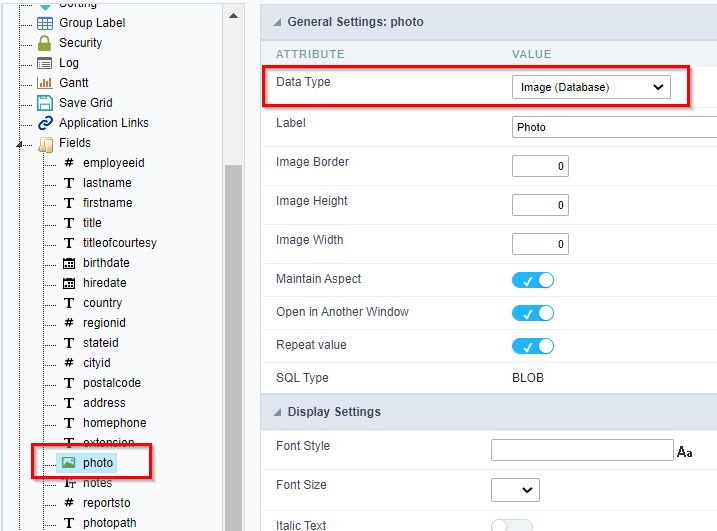
1- Let’s access the settings of the field photo and select the data type “Image (Database)” as shown in the image below.
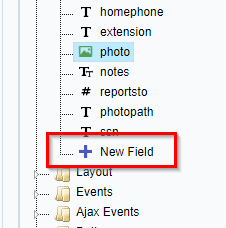
2- Now use the “New Field” option to create a text field called “fullname”
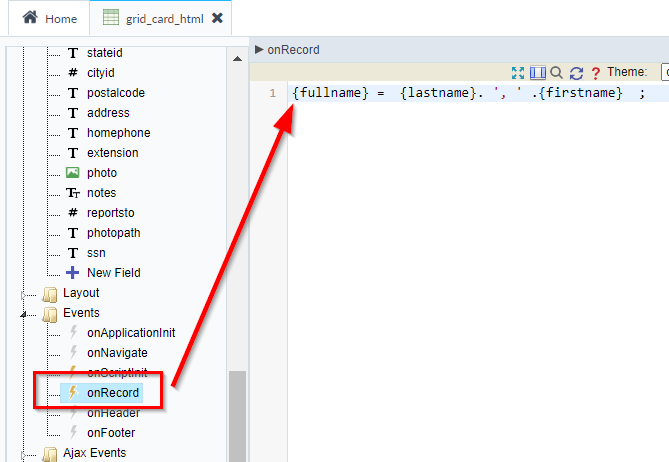
3- In the onRecord event, let’s concatenate the fields lastname and firstname and assign to the field fullname.
Configuring the Layout
For this example, we want to present an employee’s data through a “card” design made using HTML and CSS basically.
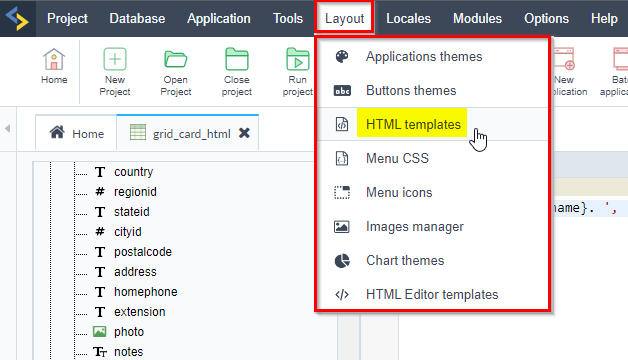
1- We can include an HTML/CSS code through the main menu of Scriptcase “Layout >> HTML Templates”
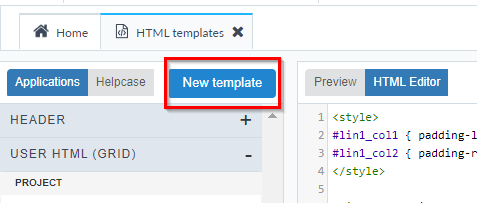
2- Then use the “New Template” button to enter your custom code.
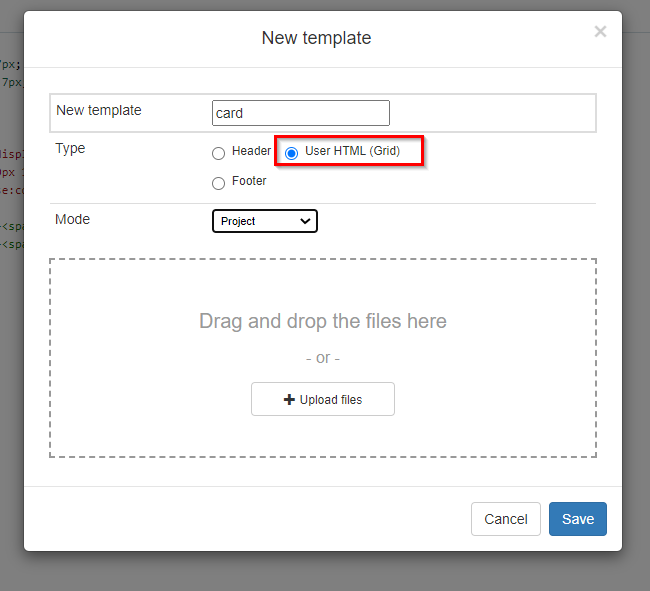
3- In the window that opens, name the template, select the type “User HTML (Grid)”, whether the HTML will be available: public, by project or by user, and then upload the HTML file to the Scriptcase.
The code we will use for this example is as follows:
|
<style> .card { border: 1px solid #D1DDE2; background: white; width: 15%; min-width: 200px; border-radius: 10px; overflow: hidden; float: left; margin-right: 10px; margin-left: 10px; margin-bottom: 20px; /*min-height: 350px;*/ font-family: “Open Sans”; font-size: 13px; } .thumb-img{ text-align: center; margin-top: 20px; } .card a { color: #3793D4; text-decoration: none; }
div.card:hover { /*text-decoration: underline;*/ background: #E2E2E2; } .card .card-block { padding: 10px 15px; } .card img { /*width: 250px;*/ height: 200px; } .card .card-block .card-title { color: #3793D4; font-size: 16px; margin: 0; /*min-height: 35px;*/ } .card .card-block .card-text { /*min-height: 100px;*/ } .card .card-footer { padding: 10px 15px; background: #f2f2f2; font-weight: bold; color: #777; } .card .card-footer small { opacity: .5; display: block; font-weight: normal; color: black; }
</style> <!– BEGIN bl2 –> <div class=”card”> <a href=”#”> <div class=”thumb-img”> {fld_img} </div>
<div class=”card-block”> <h4 class=”card-title”> {fld_name} </h4>
<p class=”card-text”> {fld_desc} </p>
</div>
<div class=”card-footer”> {fld_1} {fld_2}
<small> {fld_3} {fld_4} </small> </div> </a> </div> <!– END bl2 –>
|
Note 1: For more information on how to create an HTML file to be used as “User defined” and available resources, visit the Manual.
Note 2: Note that in the code, we specified the variables {fld_img}, {fld_desc}, {fld_1}, {fld_2}, {fld_3} and {fld_4} that we will use to display the values of the Grid fields.
Basically, in an HTML template, we should use:
- <style> tag to create the CSS and style the view format.
- Use the tag <!– BEGIN bl2 –> indicating the beginning of a Loop, as we will need Scriptcase to write an object for each record in the table.
- Inthen we must write the HTML object that will be used to display the records. Here, we must use variables between braces ( {fld_1} ) to indicate where it should be replaced by the dynamic content of the table’s fields.
- Finally, use the tag <!– END bl2 –> indicating the end of the Loop.
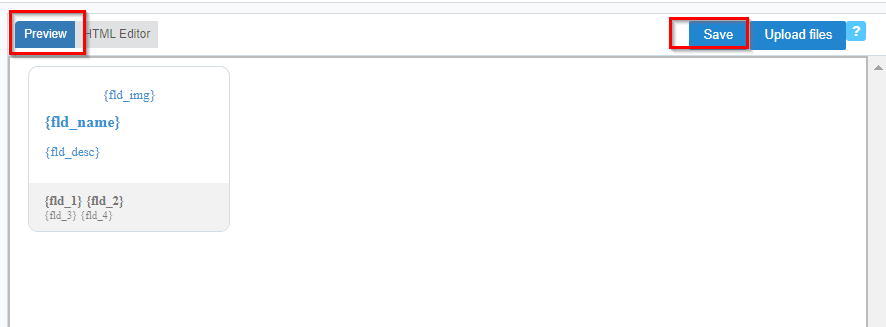
4- Use the button preview to check the front-end display, and click to To save the template.
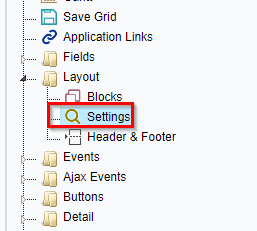
5- In the application menu, access the item “Layout >> Settings”.
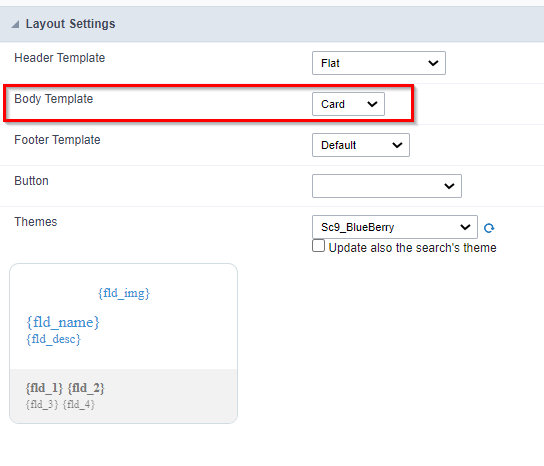
6- Then select the desired HTML into the “Body Template”.
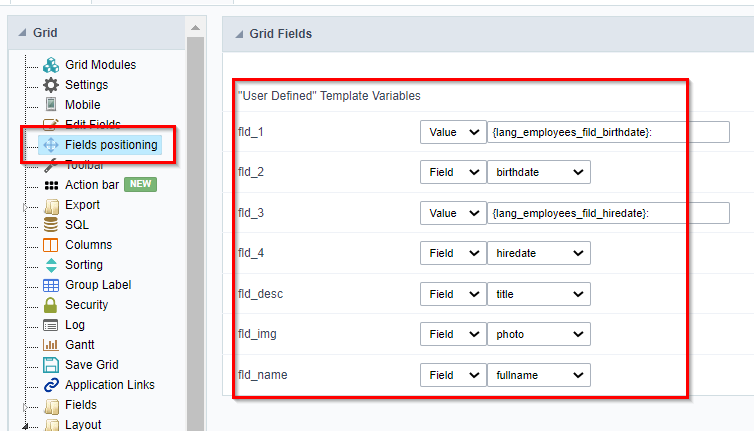
7- Now we must access the “field positioning” item to be able to associate the values ofexhibition to our HTML variables.
Click on the “Run application” button.

Comment this post